
DECAL RESOURCES
USS Flagg Replacement Decals
Here are three options for replacement decals for the USS Flagg. I have personally used ToyHax for the USS Flagg and was extremely pleased with the quality. I have not used Rattler Repros, but they are another resource I commonly see recommended. I have not used Merch Explosion, but the flight deck decals appear (I'm not 100% certain) to only have breaks at the actual breaks between pieces.
1. ToyHax
2. Rattler Repros
3. Merch Explosion
1. ToyHax
2. Rattler Repros
3. Merch Explosion
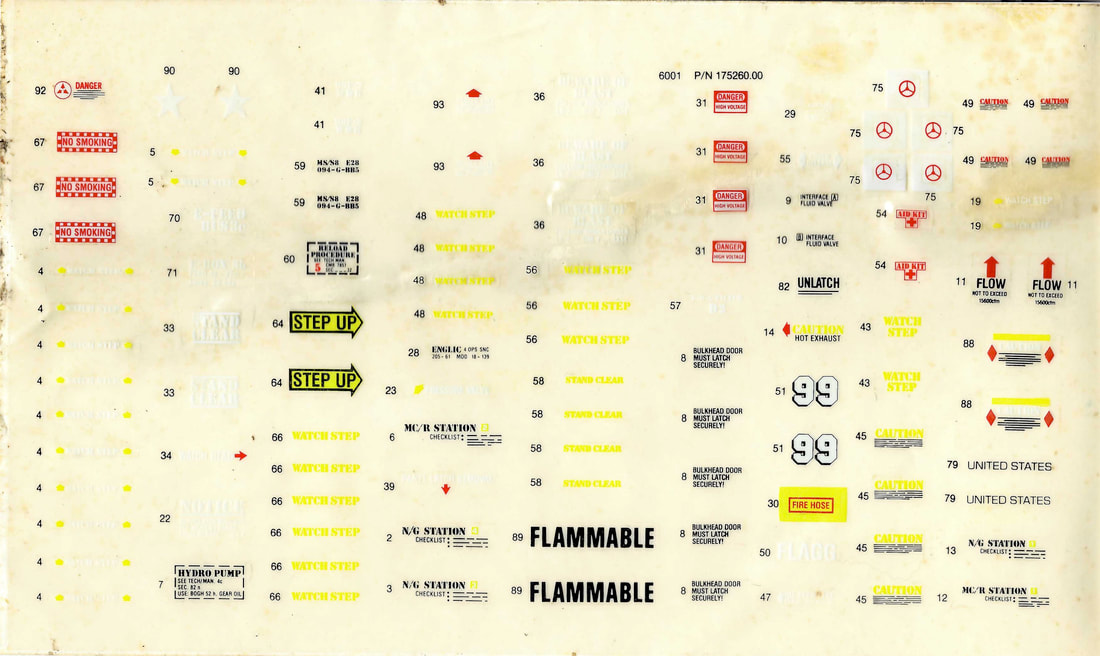
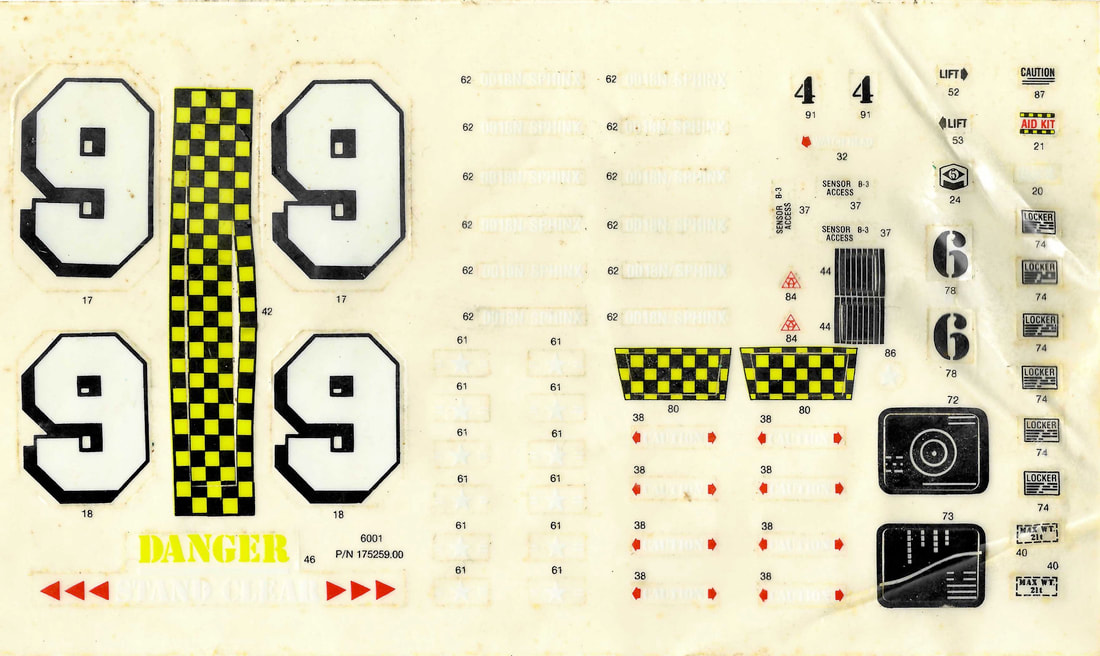
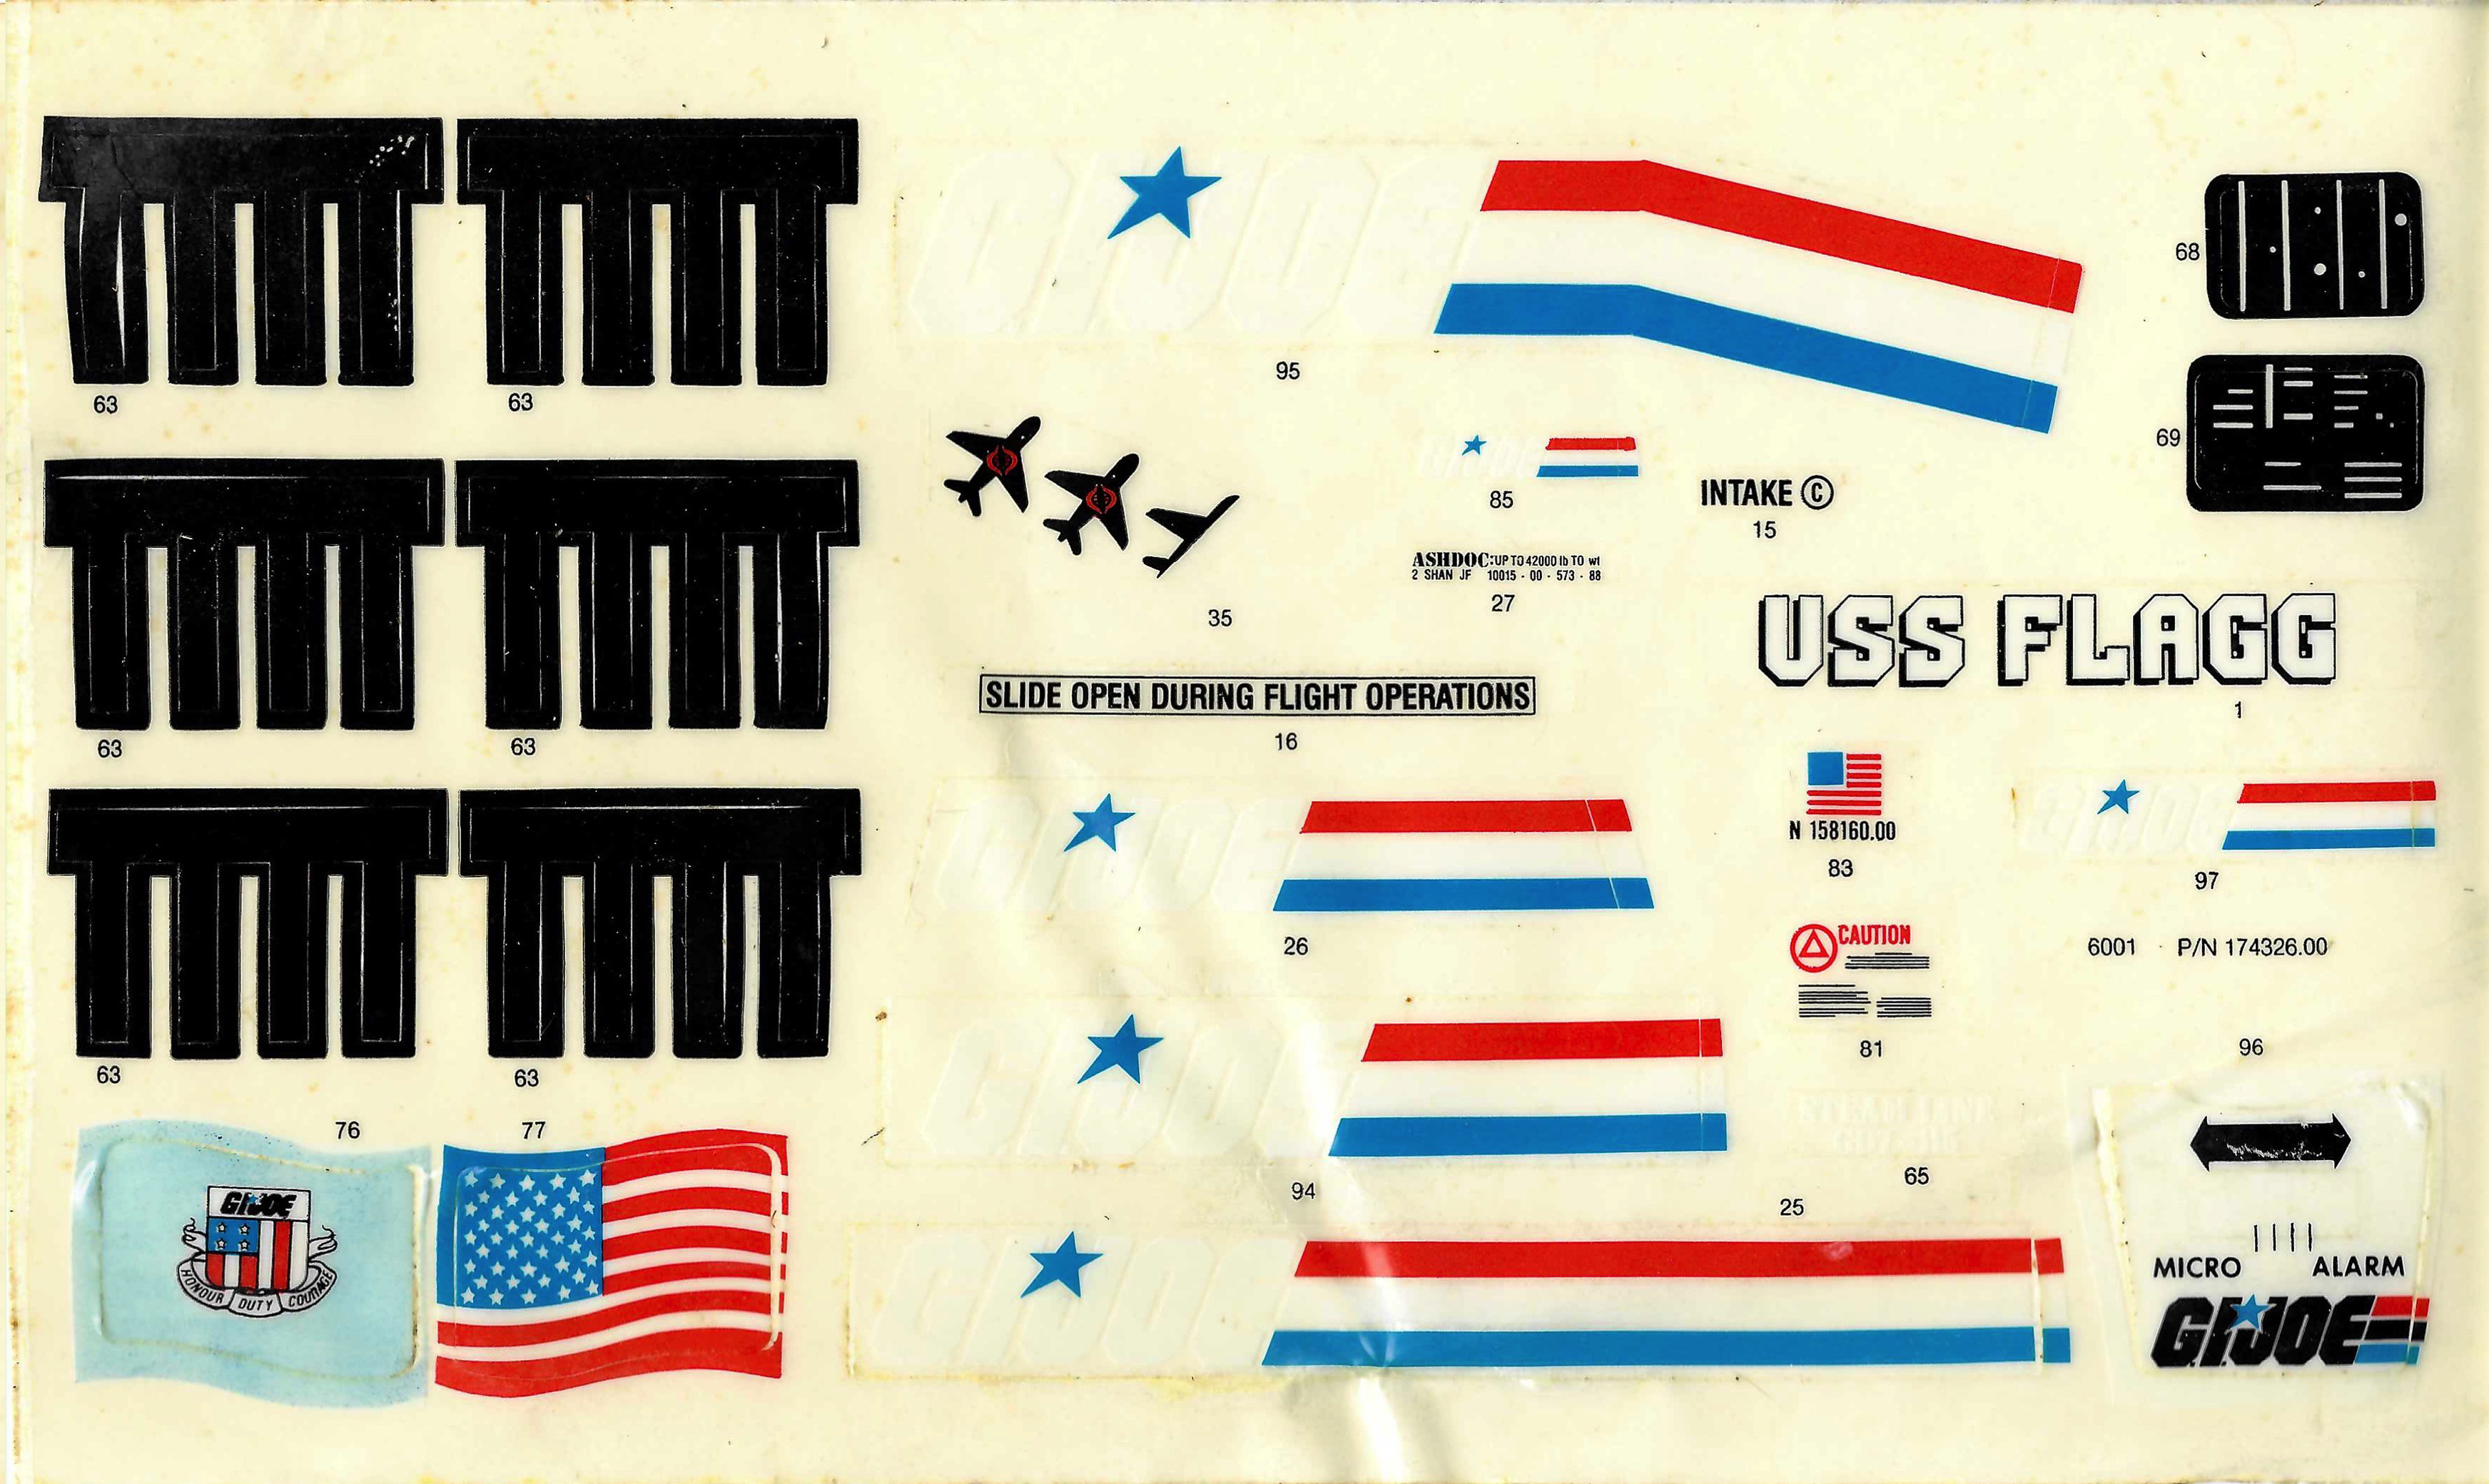
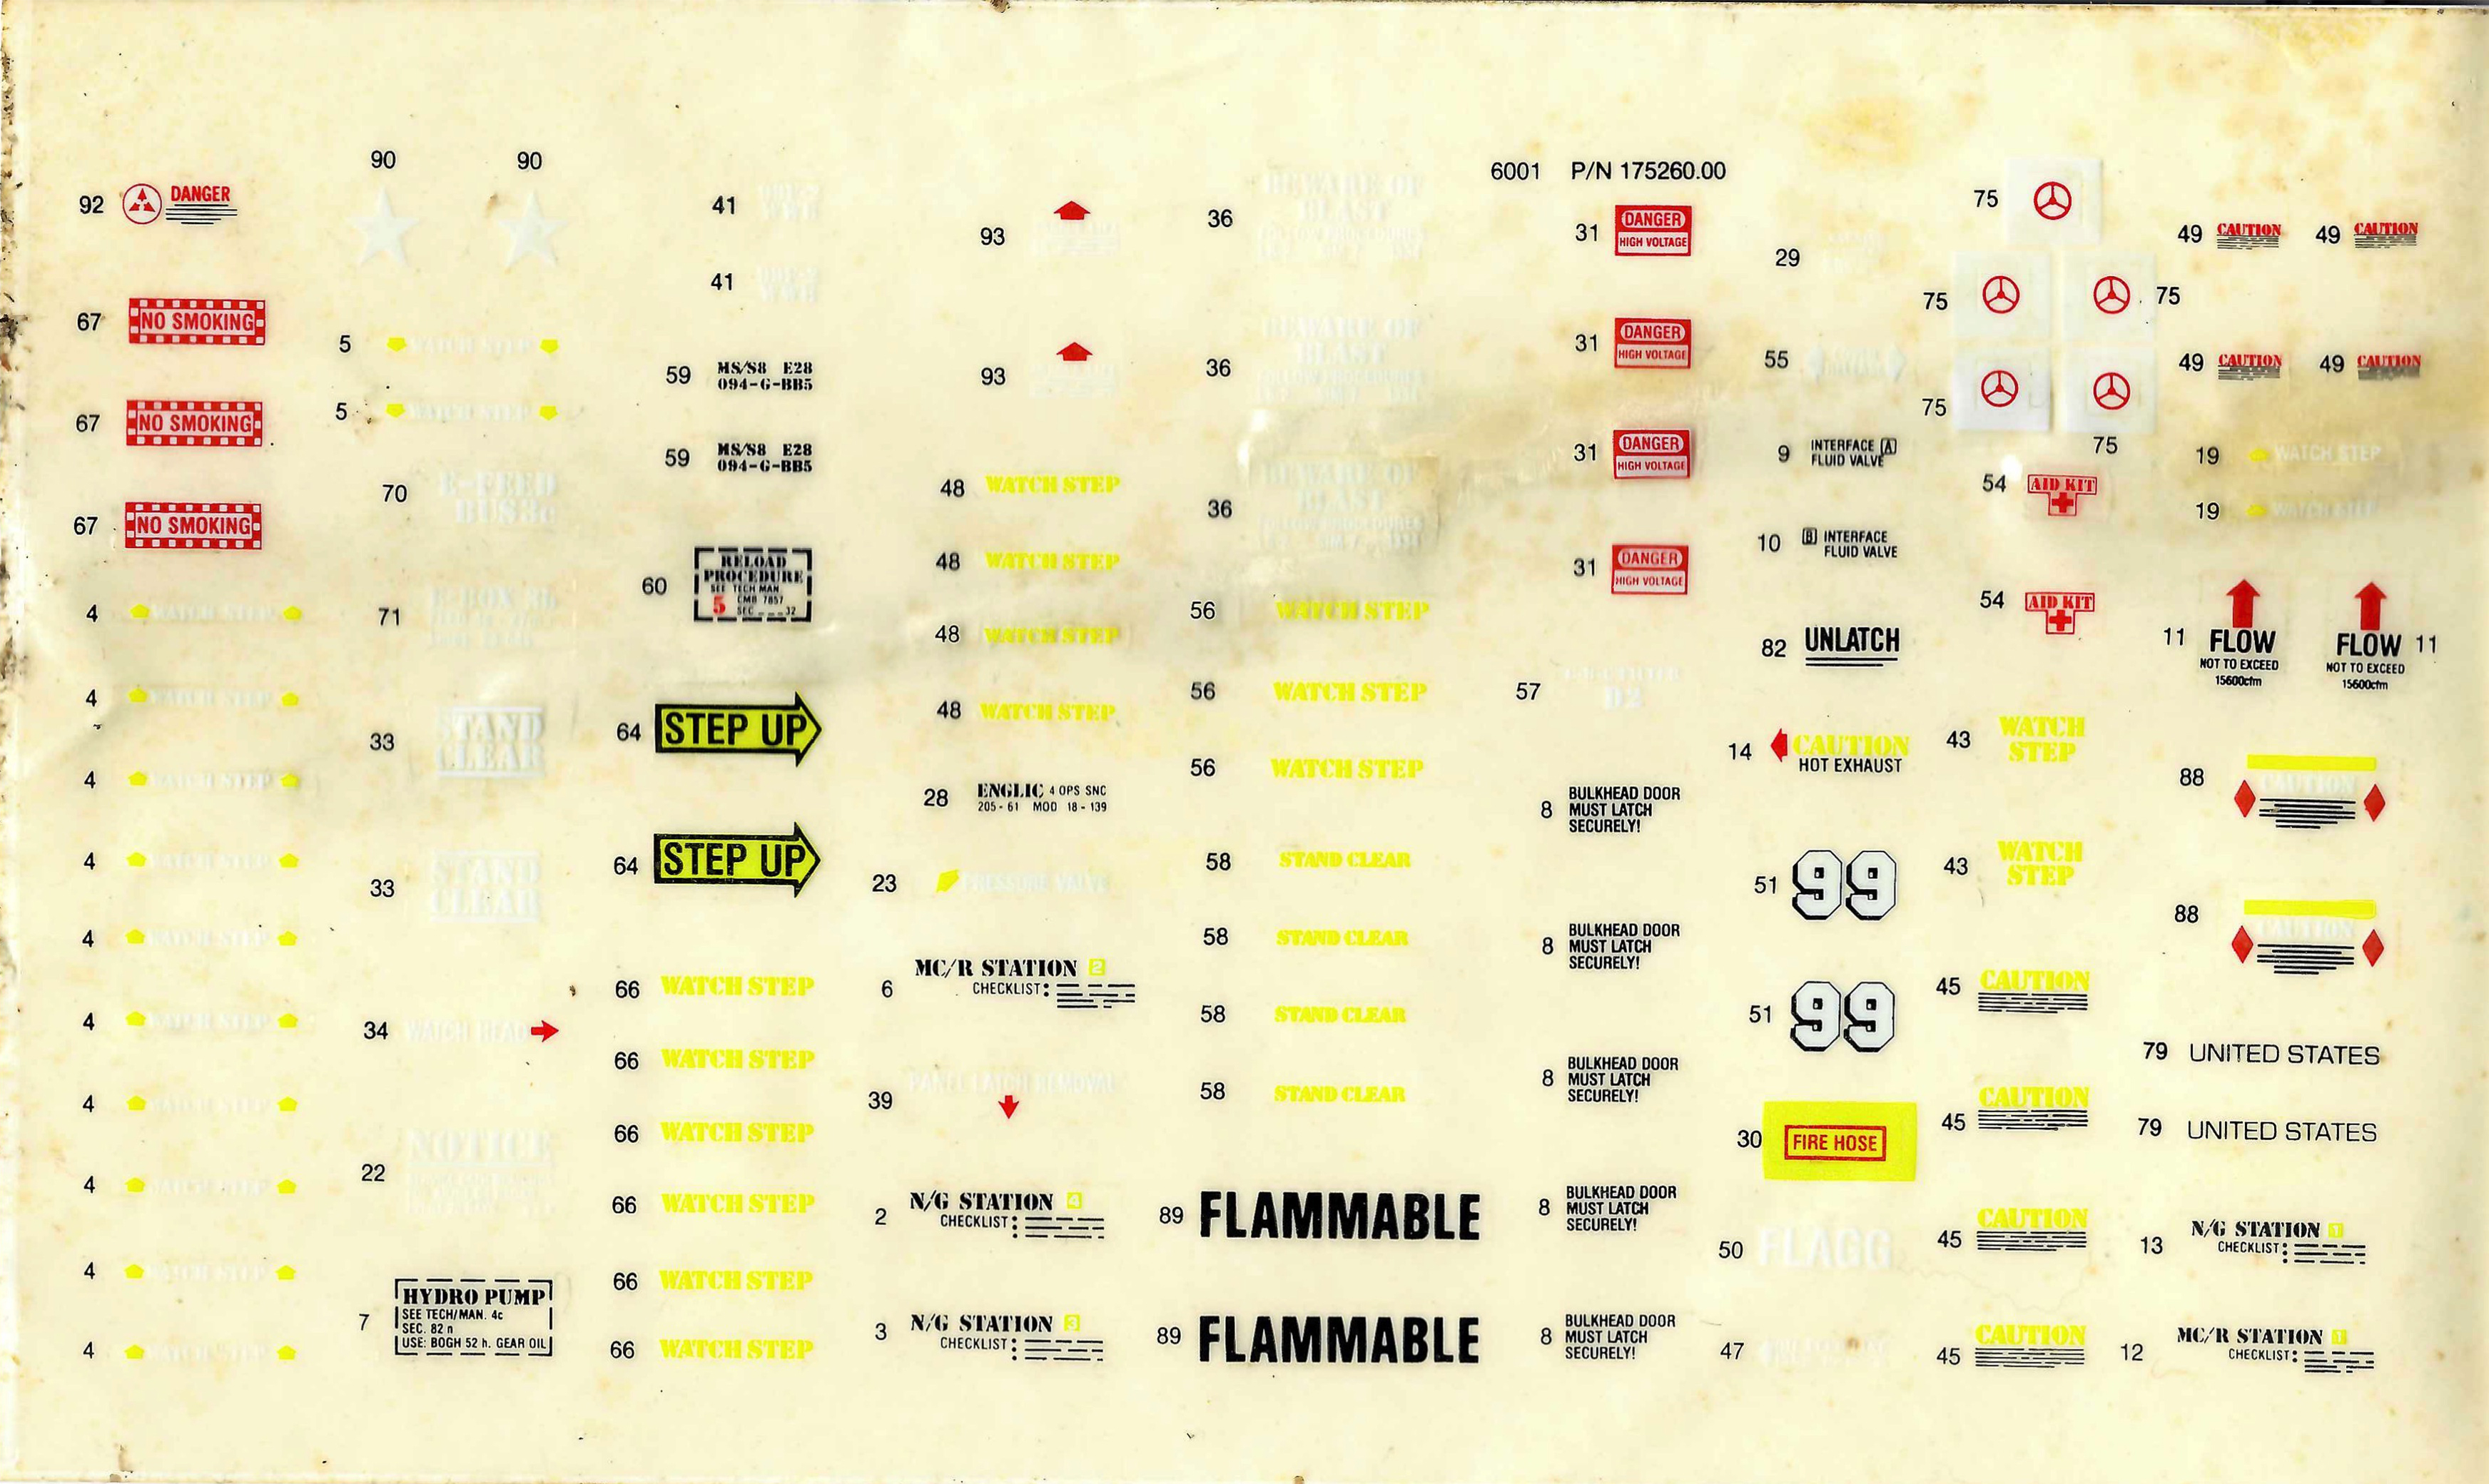
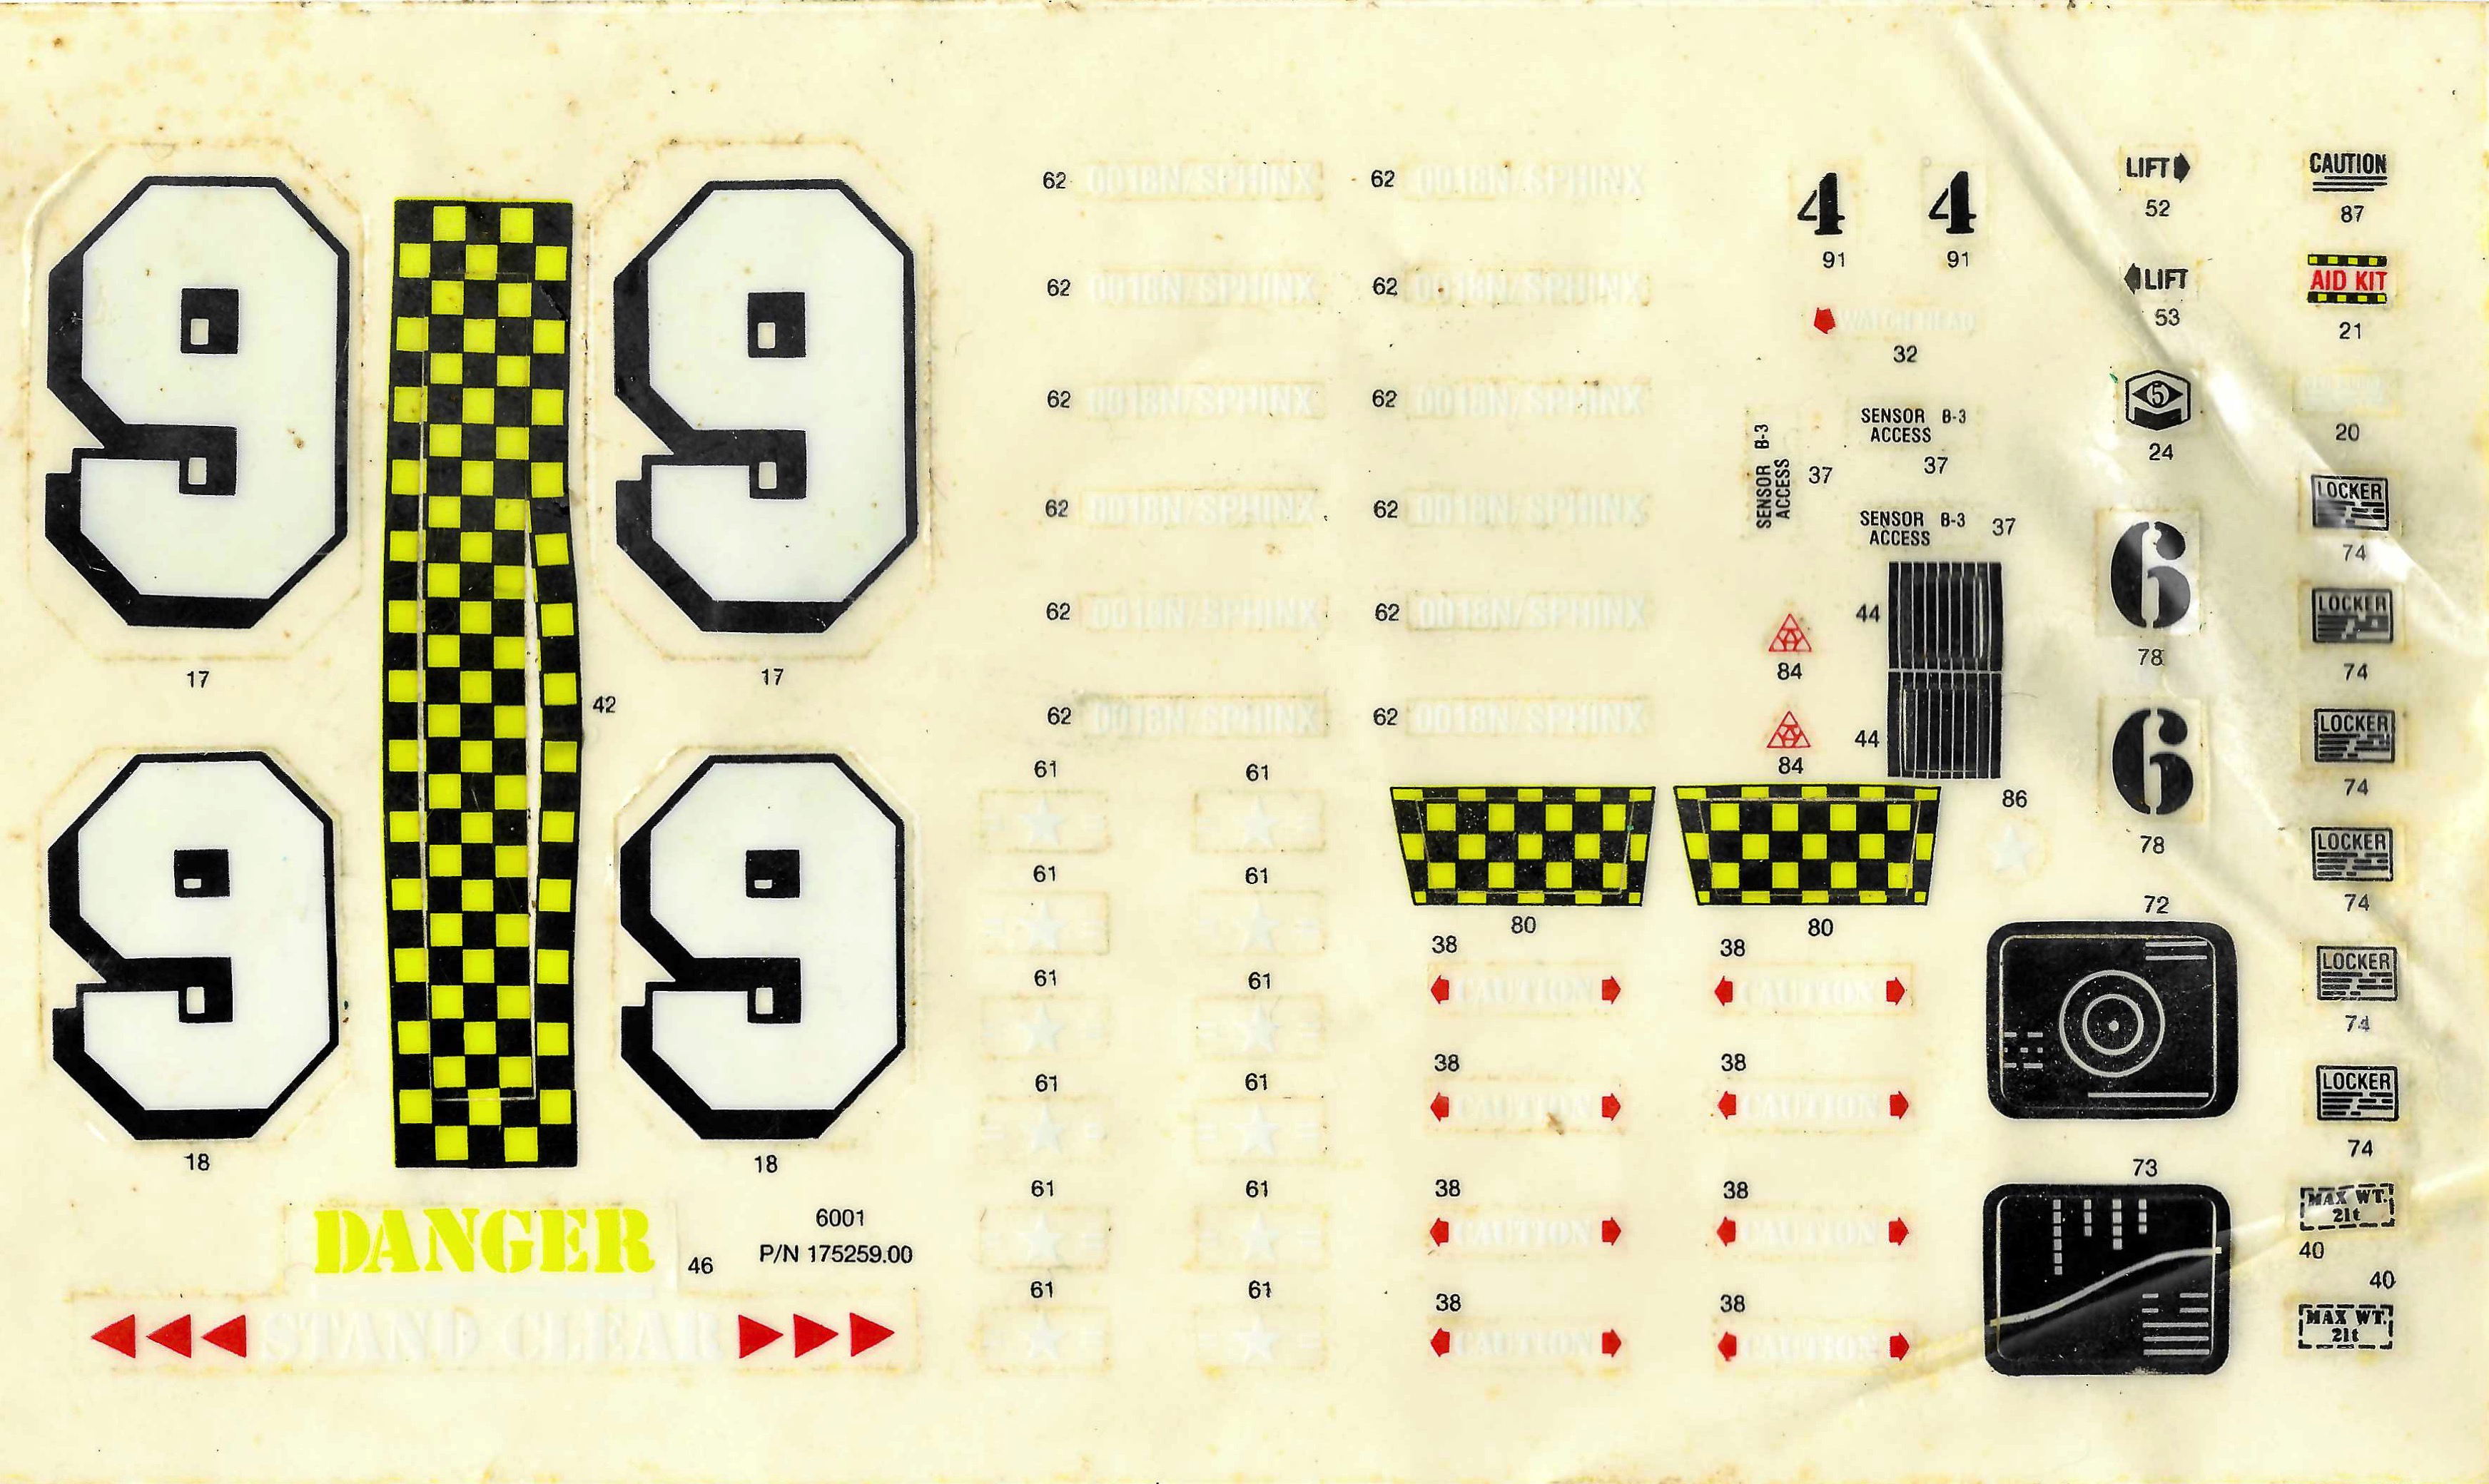
USS Flagg Original Decal Files
Here are scans from my personal collection. These files might be helpful for creating your own decals in Photoshop.
There are three (3) "Aircraft Carrier Label Sheets." There are two (2) additional "Deck Runway Label Sheets." I currently don't have the "Deck Runway Label Sheets" to make scans, so I will add them when I can.
There are three (3) "Aircraft Carrier Label Sheets." There are two (2) additional "Deck Runway Label Sheets." I currently don't have the "Deck Runway Label Sheets" to make scans, so I will add them when I can.

|
|
| ||||||
|
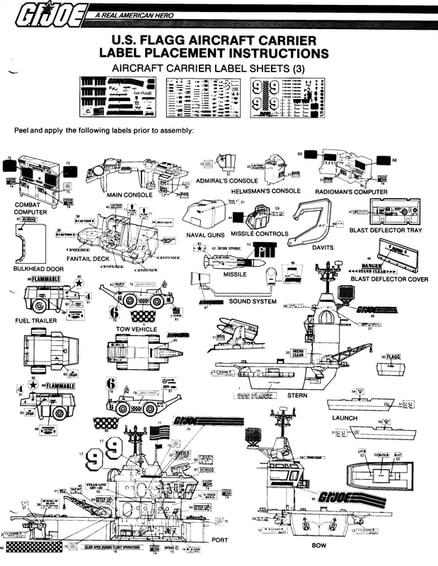
USS Flagg Aircraft Carrier Label Placement Instructions
| ||
Ideas & Tools for Making Your Own Decals
NOTE: I recommend getting a machine that will cut decals for you. I have a link to the Cricut Explore Air 2 below.
Print Decals: Print your decals on a regular 8.5" x 11" sheet of glossy decal paper. I prefer a full sheet label so I can place my decals anywhere on the sheet.
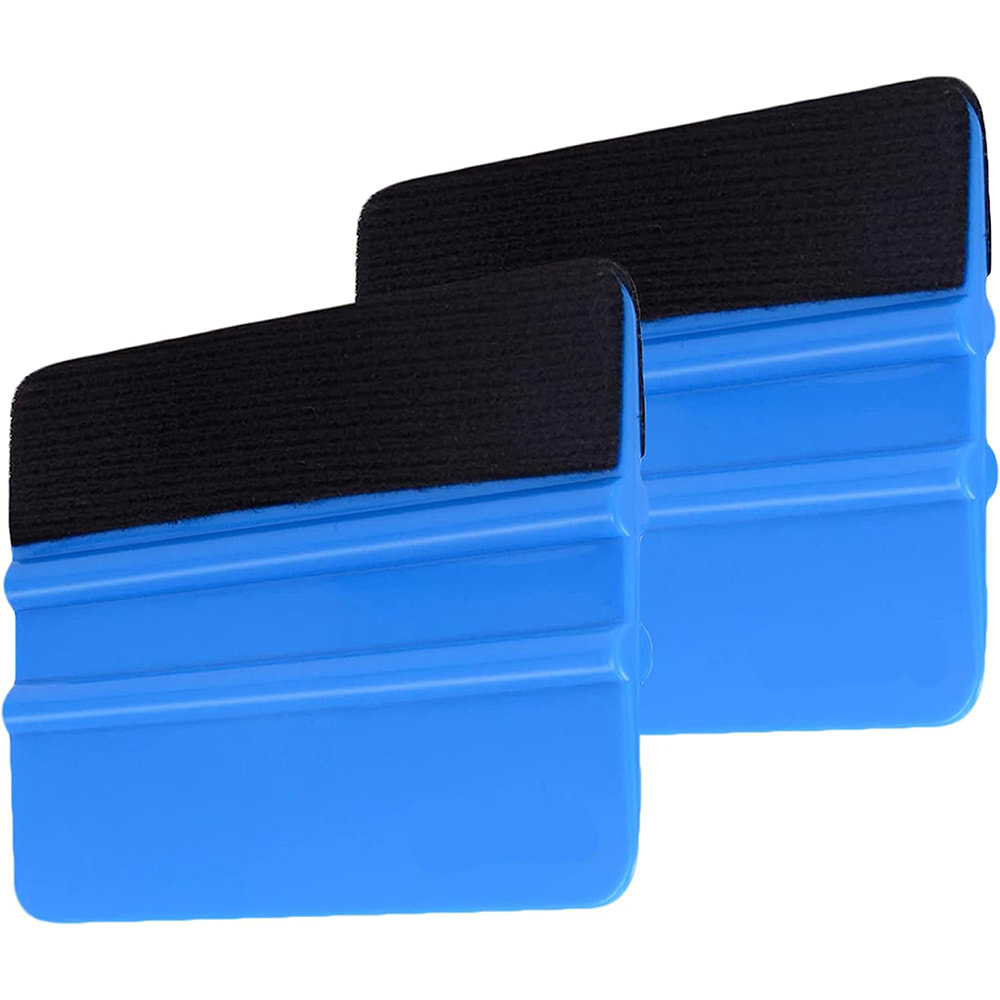
Seal Decals: Once you've printed your decals, you can protect them by placing a single-sided, self-sealing laminating sheet over top. You should use a decal squeegee to eliminate bubbles. A link is provided below to the laminate sheets. For decals that you are placing on wood, you can use a polycrylic as an additional sealant for the decals.
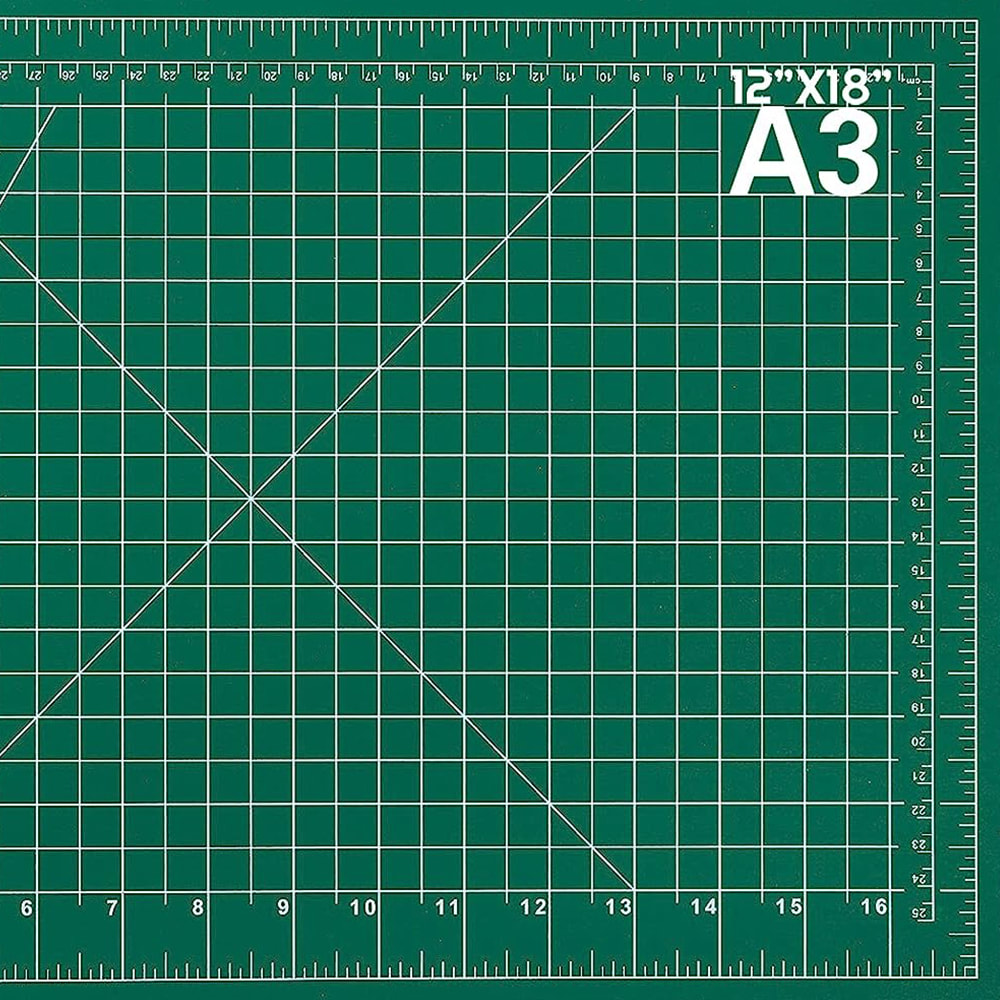
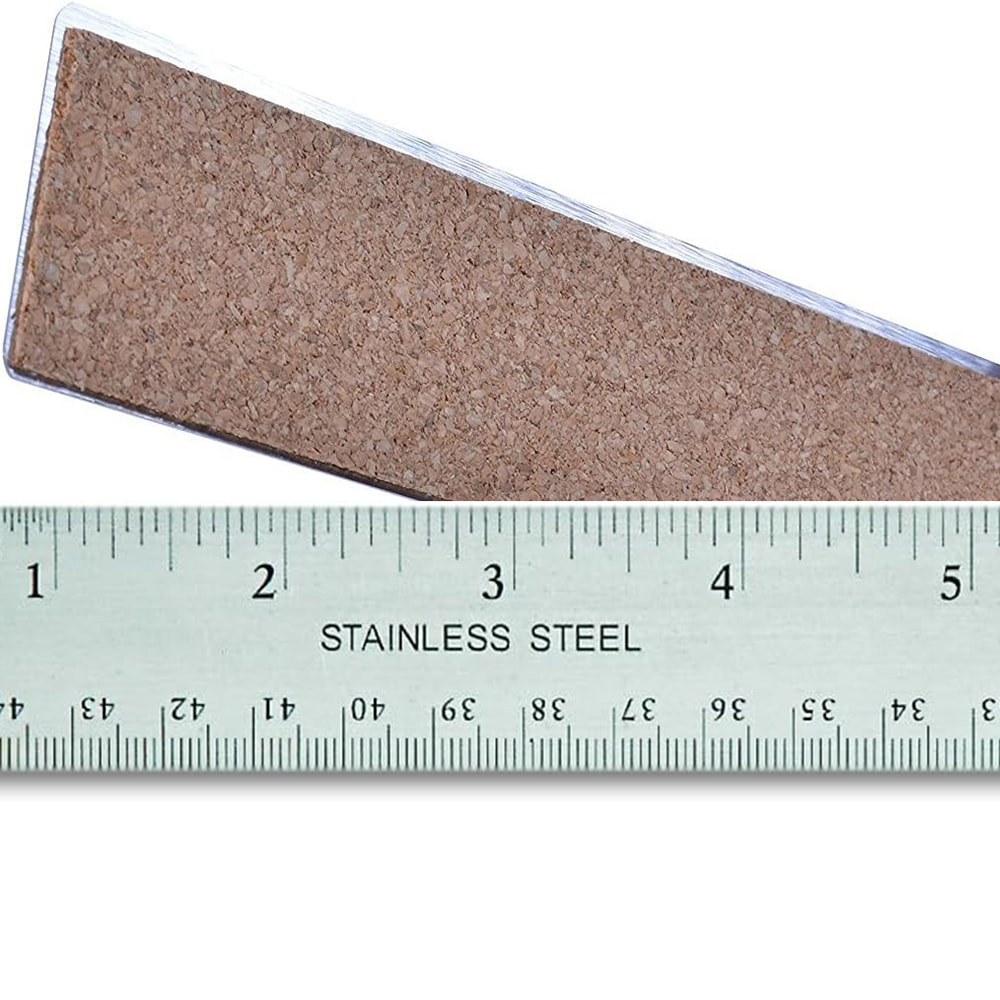
Hand Cut: For decals that you are hand-cutting, there are three tools that I recommend: X-Acto Knife, 12"x18" self-healing cutting mat, and an 18" cork-backed metal ruler.
Machine Cut: Some decals can be printed and die-cut using a Cricut. You can use the PNGs below to upload to your Cricut Design Space. I've included print size dimensions.
Decal Placement: You may want a set of hobby tweezers to help with placement of decals to make sure you get them straight. The X-Acto Knife can also be helpful in removing the backing from decals.
Color Matching: The Adobe Capture app has been one of my favorite tools. It uses the camera on your phone and gives you the color codes for your graphics so that you can color match anything! It's helpful in designing decals as well as paint colors.
Seal Decals: Once you've printed your decals, you can protect them by placing a single-sided, self-sealing laminating sheet over top. You should use a decal squeegee to eliminate bubbles. A link is provided below to the laminate sheets. For decals that you are placing on wood, you can use a polycrylic as an additional sealant for the decals.
Hand Cut: For decals that you are hand-cutting, there are three tools that I recommend: X-Acto Knife, 12"x18" self-healing cutting mat, and an 18" cork-backed metal ruler.
Machine Cut: Some decals can be printed and die-cut using a Cricut. You can use the PNGs below to upload to your Cricut Design Space. I've included print size dimensions.
Decal Placement: You may want a set of hobby tweezers to help with placement of decals to make sure you get them straight. The X-Acto Knife can also be helpful in removing the backing from decals.
Color Matching: The Adobe Capture app has been one of my favorite tools. It uses the camera on your phone and gives you the color codes for your graphics so that you can color match anything! It's helpful in designing decals as well as paint colors.


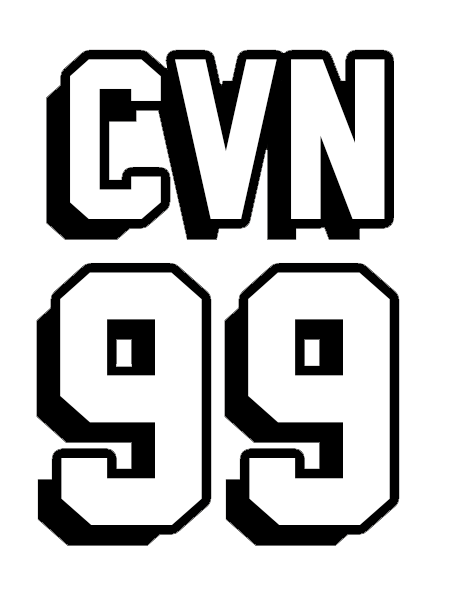
Font Files
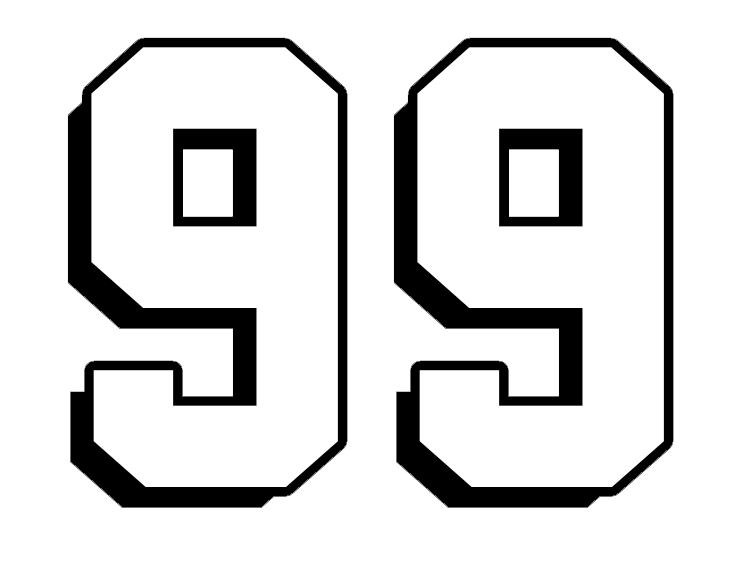
Here are the fonts I use. "ARAH" is for G.I. JOE text. "Flagg 99" is for the "CVN 99" text. I use the "Mastermind" for Cobra.
| arah.ttf |
| flagg_99.ttf |
| mastermind_bb_w00_regular.ttf |
Custom Superstructure Decals
NOTE: The GI Joe themed decals are best printed on a white vinyl.
|
Logo Above Flight Deck Door
(Print Size: 8.07cm x 2cm)
|
Logo Along Superstructure Top
(Print Size: 16.24cm x 2cm)
|
Logo Below Flag Post on Top
(Print Size: 8cm x 2.15cm)
|
Logo Below Bridge Windows
(Print Size: 13.57cm x 3.02cm)
|
NOTE: The Cobra themed decals are best printed on a transparent sticker paper.

Cobra Above Flight Deck Door
|

Cobra Along Superstructure Top
|
|

|

"99" on the Superstructure Top
(Print Size: 5.8cm x 4.71cm)
|
"99" without Background (Print Size: 5.1cm x 4cm)
|

"CVN 99" on the Superstructure Top (Print Size: 3.75cm x 5cm)
|
"CVN 99" without Background (Print Size: 2.9cm x 4cm)
|
Original Design
|

Print on transparent sticker paper. Cricut will cut as a single decal. (Print Size: 1.91cm x 3.71)
|

Print on white background. Cricut will cut three separate decals.
|

Print on transparent sticker paper. Cricut will cut as a single decal.
|

Print on white background. Cricut will cut three separate decals.
|

Modern Design with L/R Option (Print Size: 2cm x 1.2cm)

Modern Design with L/R Option (Print Size: 2cm x 1.2cm)
|

Can be printed on transparent or white background. (Print Size: 6.5cm x 0.54cm)

Print on transparent sticker paper. (Print Size: 1.8cm x 0.5cm)

(Print Size: 2cm x 1.6cm)
|
Custom Flag Decals
Flag print size is 3.68cm x 5.75cm. Print size includes both front and back sides as a single image, but Cricut will cut as two images.

|

|

|

|

|
Custom Flight Deck Decals
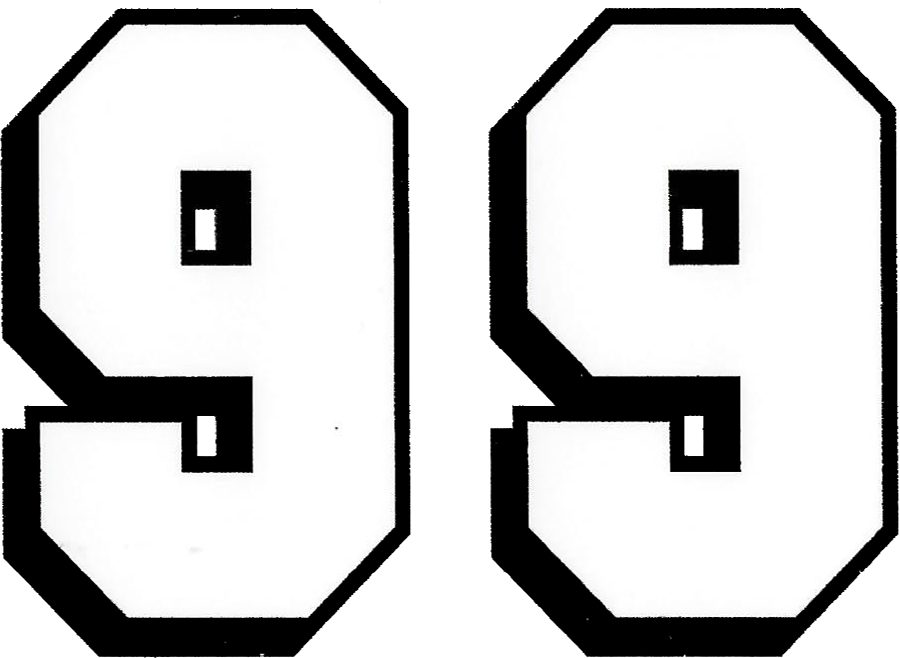
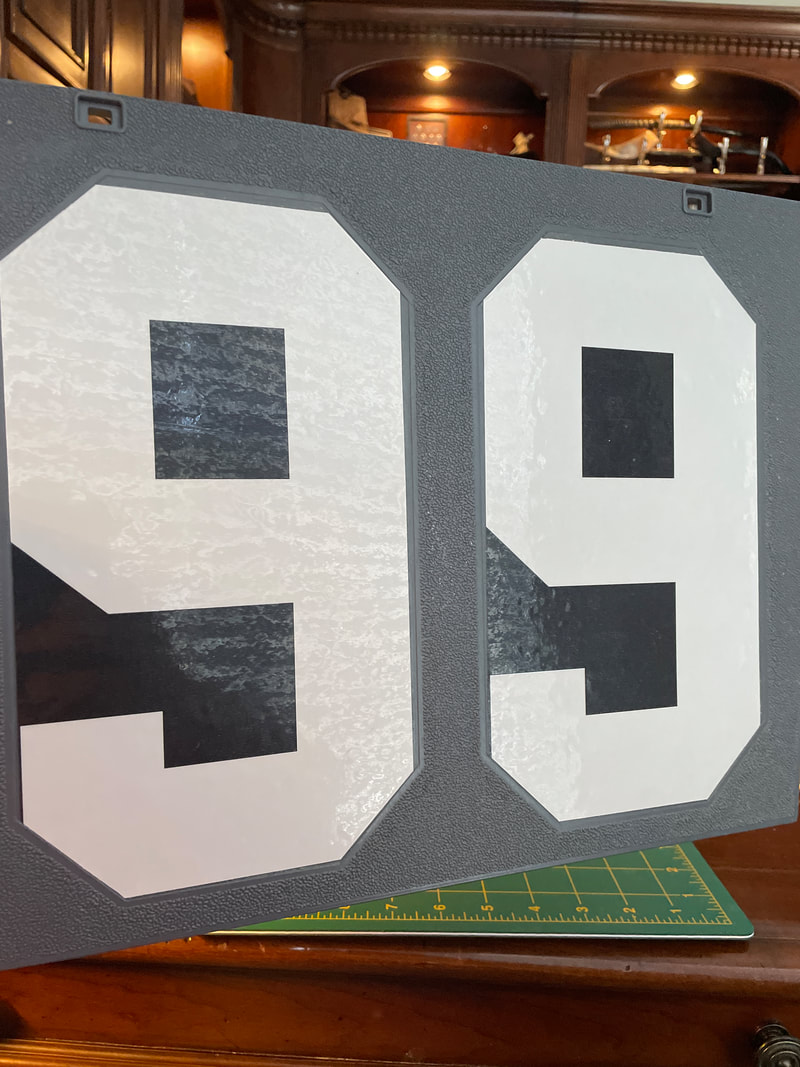
"99"
|
The "99" Deck Decal is designed to print at the same size as the original. Using the font labeled "Flagg 99" from above, I created a printable PNG decal for a letter-size glossy decal sheet.
NOTE: Numbers 2, 4, 5, and 7 are missing as they don't fit in the molded placement location on the flight deck. Number 6 is missing because you can simply print the 9 and turn it upside-down. PRINT SIZE: The Print Size is the same for all numbers: 14.5cm x 25.29cm.
|
|


Stern Deck
Stern Deck Logo (Print Size: 42.5cm x 3.175cm)


Stern Deck Left (Print Size: 27.78cm x 3.48cm)
|

Stern Deck Center (Print Size: 21.26cm x 1.27cm)
|

Stern Deck Right (Print Size: 16.27cm x 3.48cm)
|
Custom Missile Launch System Decals
Missile Decal (Print Size: 4.45cm x 2.73cm) - Cut from a sheet of black vinyl for best results.
|

Modern Design with Black Stroke (Border)

Text on white background. Black text can be printed on transparent sticker paper.

Missile Shaped Design
|
Modern Design with GI Joe Colors and Stylized Star
Hybrid Design in Color
|

Traditional Design in Color

Cobra Design
|

Missile silhouette for your creative use ideas.
|

Side of Missile Box (Print Size: 1cm x 0.8cm)
|

Side of Missile Box (Print Size: 1.8cm x 1.1cm)
|
Custom Stern & Fantail Deck Decals

Modern Design (Print Size: )
|

Original Design with White Background
|
Custom Tow Vehicle & Fuel Trailer Decals

Print on transparent background. Cricut will cut as a single decal. (Print Size: 4cm x 0.85cm)

Text Only / No Background

|
(Print Size: 2.5cm x 0.62cm)
|

(Print Size: 1.2cm x 1.2cm)
|
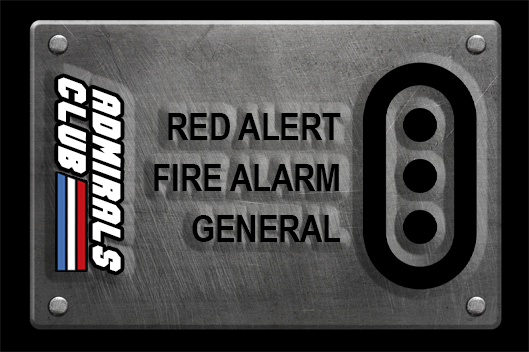
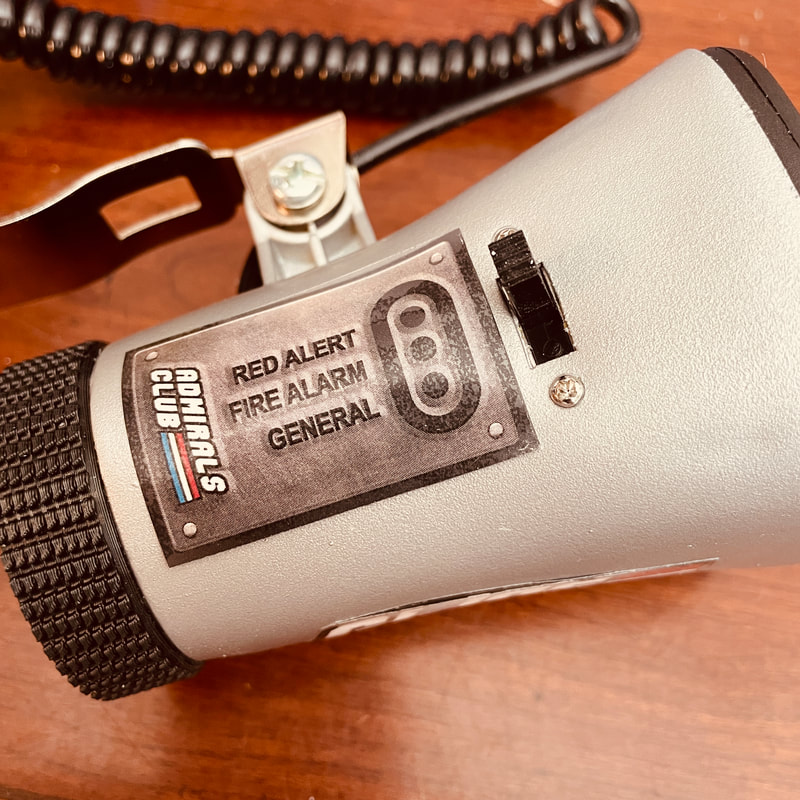
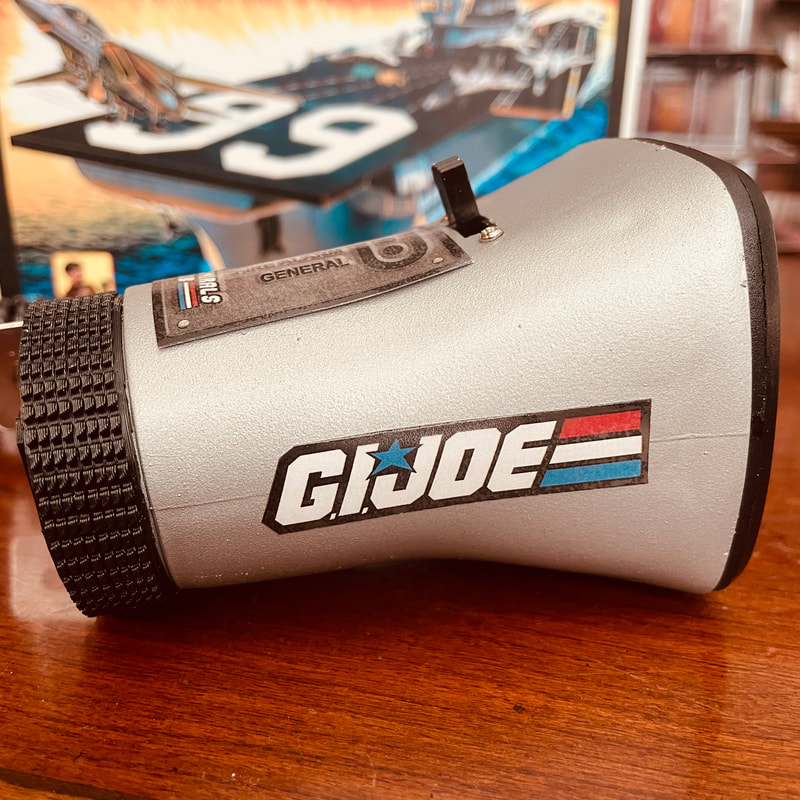
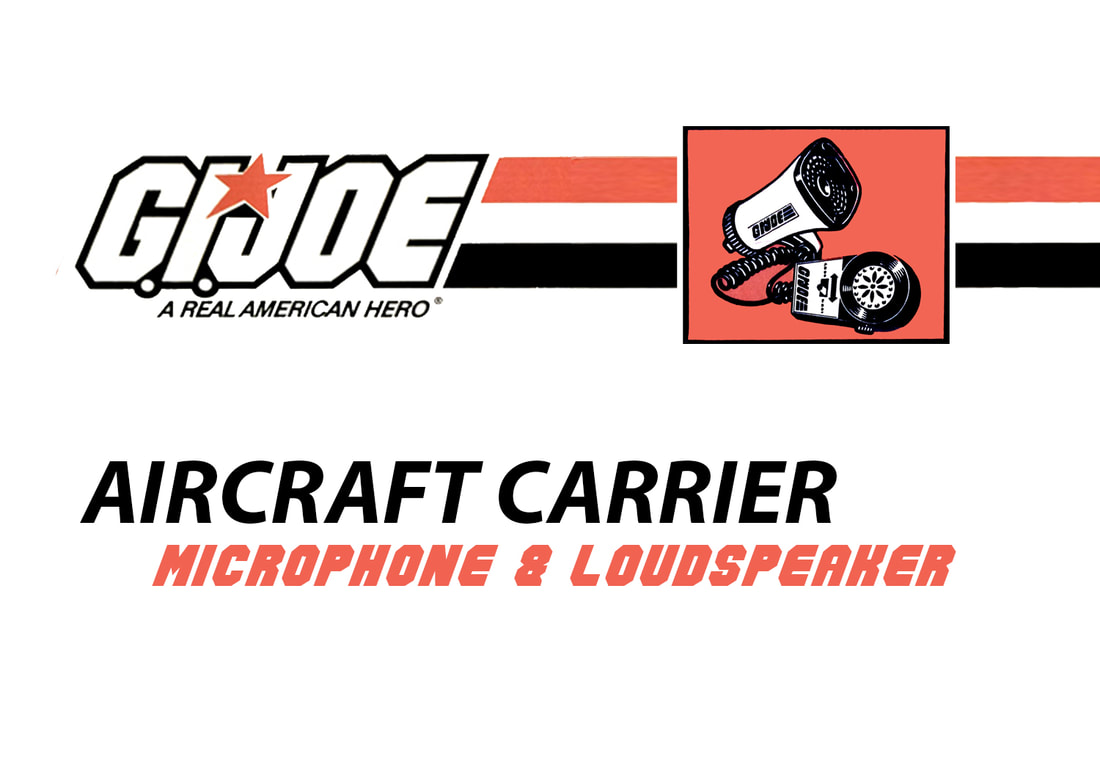
Custom Microphone & Loudspeaker Decals
There are two microphone and loudspeaker models that resemble the one from the USS Flagg. Both of them are yellow and neither of them make the same sounds as the Flagg's original microphone and loudspeaker. However, you may decide to use them for replacement parts or even create a custom microphone and loudspeaker as pictured here.


Custom Base Decals (Photoshop & PDF Files)
You can also open these PDFs as a Photoshop file. These files are a work in progress as I continue to organize the layers and create new images. PNGs have a transparent background. They are good sources for using with a Cricut.
|
|
| ||||||

|

|

|

|

|

|

|

|

|

|

|

|

|

|

|

|

|

|

|

|

|

|

|

|

|

|

|

|

|

|

|

|
|

|

|

|

Caution Stripes
|

Can be printed diagonal on an 8.5" x 11" label sheet.
|

|

Ready Room Lectern Decal
|

GI Joe Crest
|
|
Cobra Decals
|
|

|
Sick Bay Decals
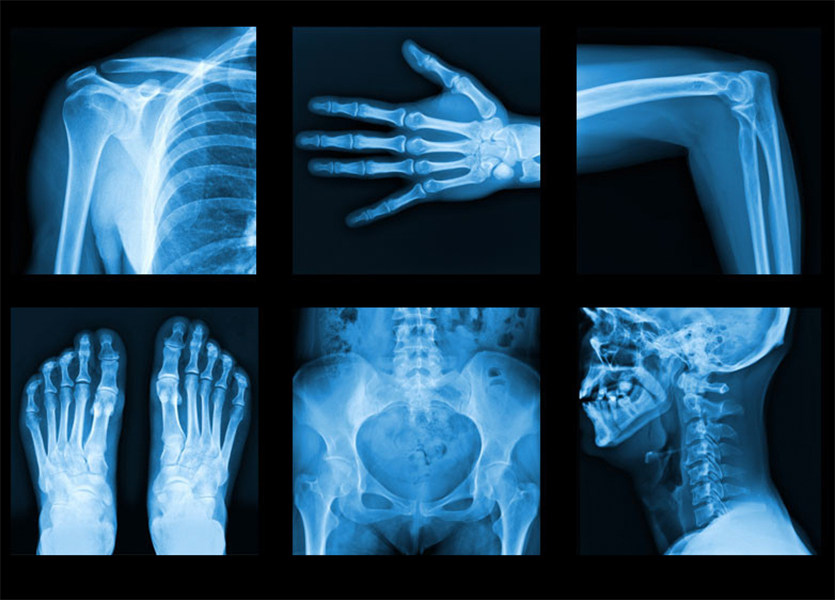
X-Ray Box (Print Size: 55mm x 40mm)
|

Eye Chart (Print Size: 86mm x 55mm)
|

GI Joe Logo
|

Cobra Logo
|

Plain
|
HVAC & Electrical System Decals
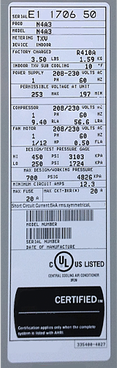
HVAC Panel Decal
|
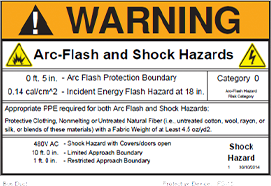
HVAC Warning Label
|

High Voltage Sign
High Voltage Bolt
|

Emergency Shut Off Switch
|


Replacement Decal for LED Control Box (Print Size: 3.2cm x 2.9cm)

|
Decals for Storage Boxes
White cardboard shipping boxes can be found on Amazon. Box 1 is 10"x7"x3" and Box 2 is 7"x5"x4". Decals are printed on full sheet glossy label without a laminate sheet.
Box 1 Front 10x7x3
|
Box 1 Back 10x7x3
|
Box 1 Front Side 10x7x3
Box 1 Back Side 10x7x3
|
Box 1 L&R Sides 10x7x3
|

Box 1 L&R Sides 10x7x3
|
|

Box 2 Front 7x5x4
|
Box 2 Front Side 7x5x4
|
Box 2 Back Side 7x5x4
|
Box 2 L&R Sides 7x5x4
|
Box 2 L&R Sides 7x5x4
|
Box 2 L&R Sides 7x5x4
|
Box 2 L&R Sides 7x5x4
|
Box 2 L&R Sides 7x5x4
|